Where "Reworking" Got Me
I know I have mentioned a few times how I hopped into circular fashion, but what I didn’t know before I began were all of its pillars and the proper terminology for what I was about to pursue. I just thought I would rework some of my brand’s inventory I’ve had sitting over the past few years…like, oh piece of cake! Ha! Until I started ripping out seams (of which for the first couple of shirts would take about 2 hrs per shirt)…
Either way, it was and has been a great change of pace from the last couple of years. So reworking then became redesigning, which then led me to the proper term of remanufacturing. All are very similar, however, I would put reworking closer to upcycling. But anyway! Let’s dive into how I started this process and what I’ve learned so far.
My First Steps
To give you an idea of what my inventory looks like, I started out with two styles in mind. (There were like 200 produced in each style…yikes!) Both of them are short sleeve Henley styled tunics. One with a knit back and the other with knit shoulders. Super light weight and they come in three colorways. But alas, I still have at least 100 of each style. So what better to do with them than to give them a new life!?
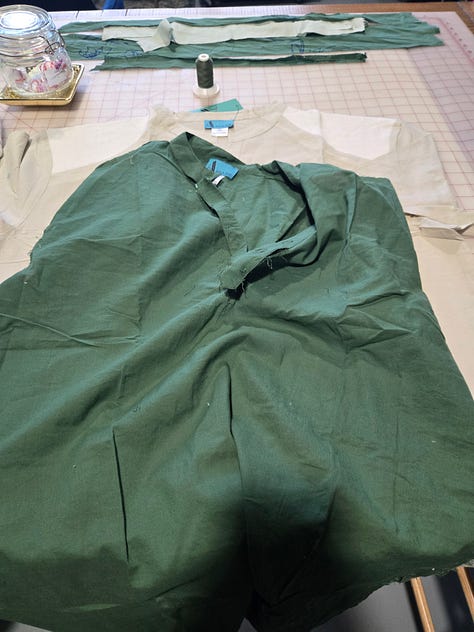
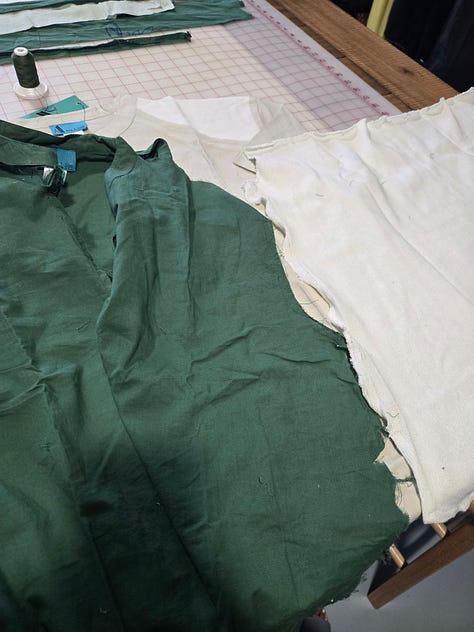
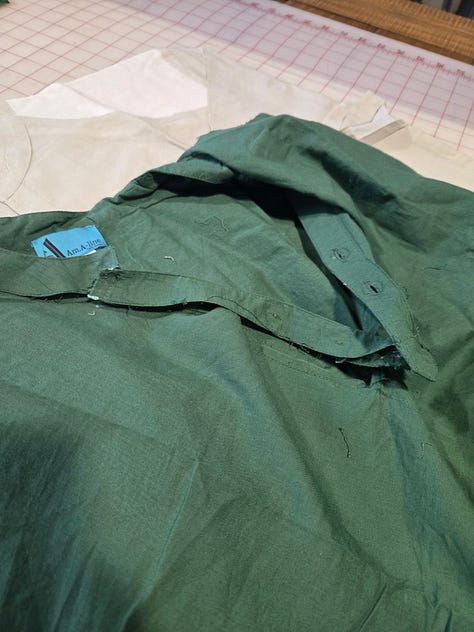
So I started by sketching out a couple of ideas before I began disassembling shirts. I came up with a few ideas for button ups with short and long sleeves, a few knit shirt ideas. However, it wasn’t until I got started that other design ideas really started coming to me. The first garment I started on was a short sleeve button up.
Once I started deconstructing, I began to think about all of the components and how to reuse them, including the thread. My ultimate goal with doing this is to waste as little, if not to waste anything at all, as possible. So I’ve included a few photos and clips showing my process of taking them apart.
Putting Together the First Prototype
When I first started, I just used the full shape of the garment. As I have progressed, I’m using my dress form and have created a sizing chart to begin making a size range for each style that I make. The first sizes I began deconstructing were XL’s. In my mind I figured that I could downsize them or leave them as is and have an oversized shirt. Either way, I had to start somewhere.
By getting back into my creative, hands-on process, I started to feel better about what I was doing and relatively “normal” (at least my baseline, because what is normal?). Seam ripping has become as much of a meditation and mental release for me as much as sewing has been. Though it takes up majority of the time to remanufacture (especially the way I’m doing it), it has its place.
Anyway, here are a few of my stages and the final prototype! If I could, I would add all of my process videos, but that’s a lot (haha). So instead, here are a few photos of my progress.
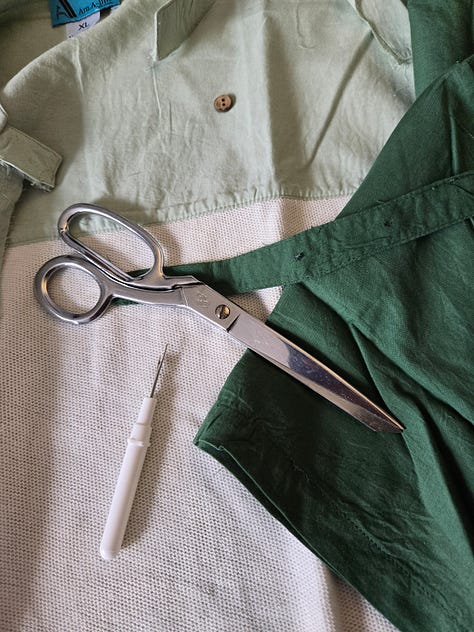
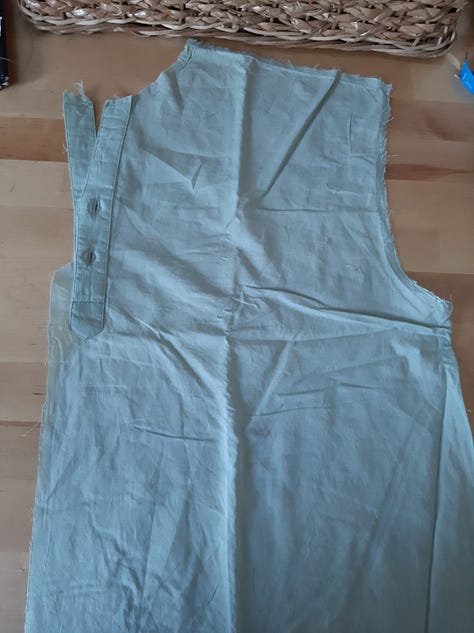
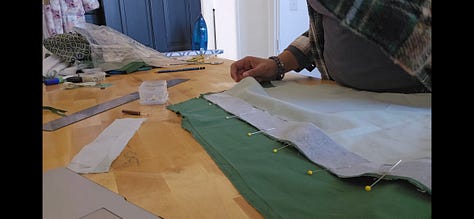
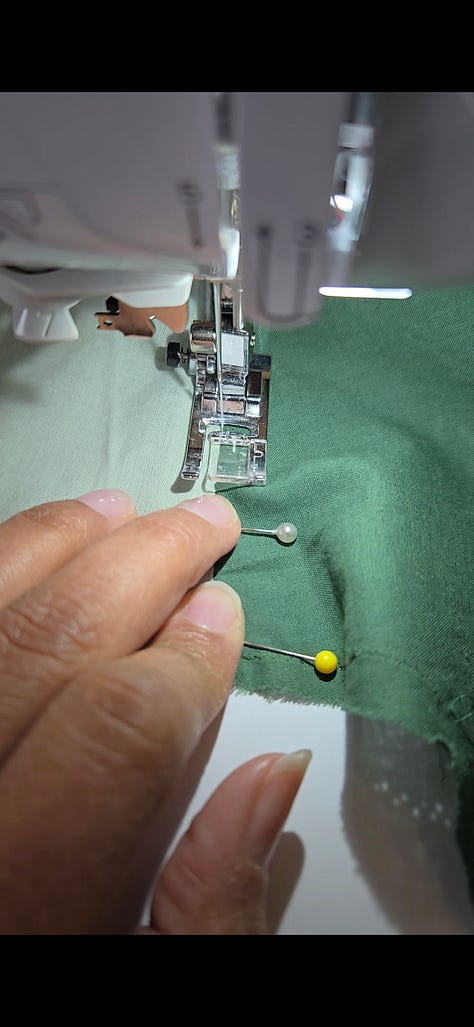
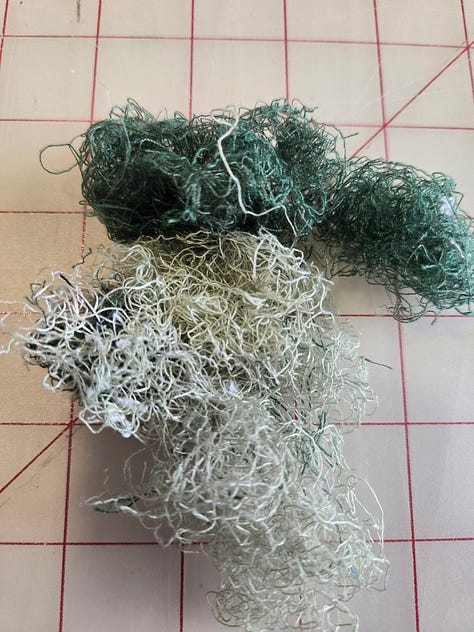
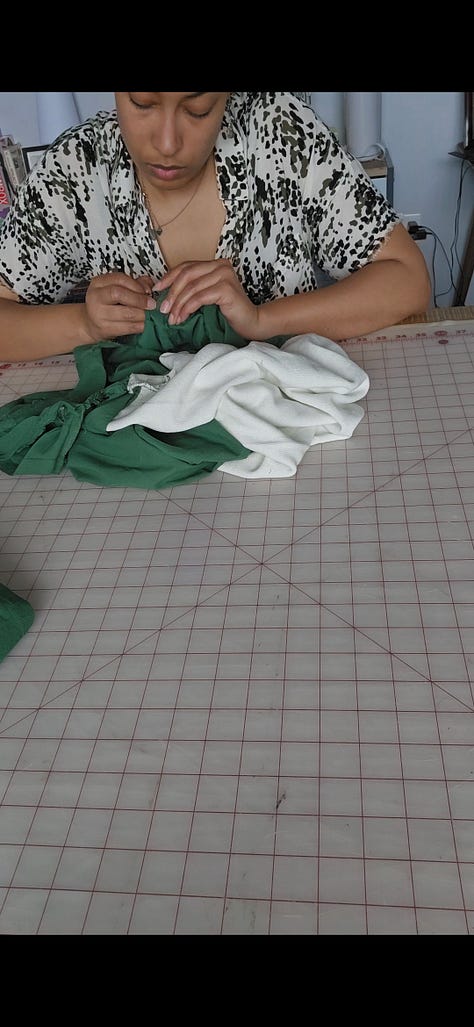
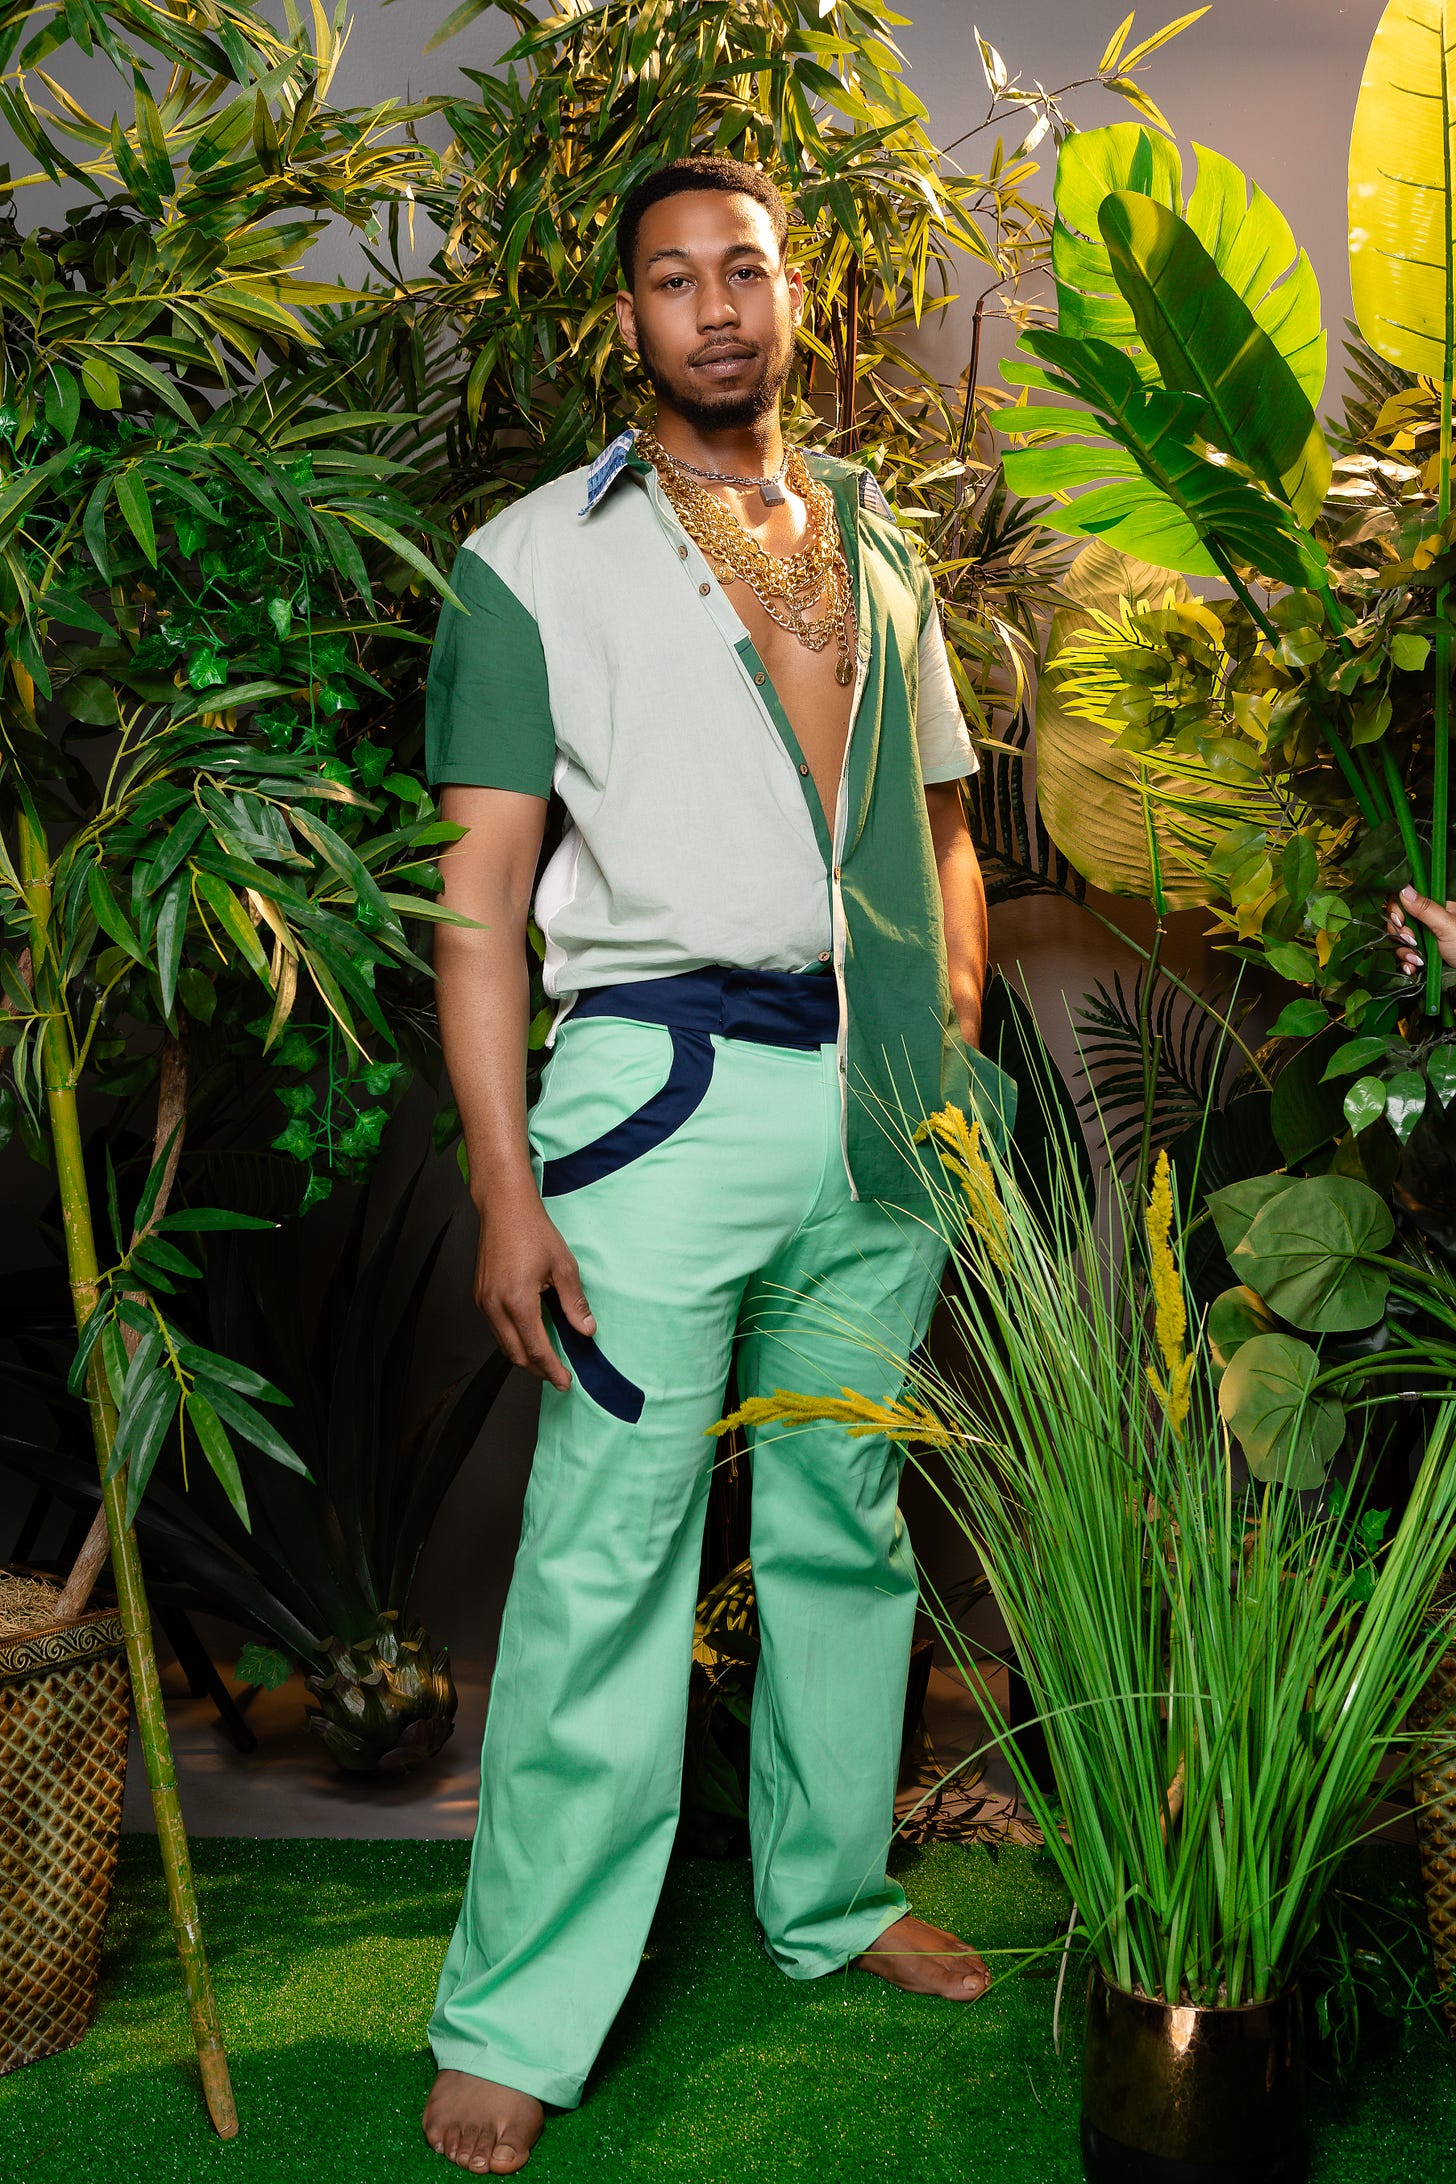
And of course I have to share the final garment with you on and off of a model. I’m pretty proud of how it turned out, aside from a few things I found to be issues. For example, sewing over previous stitching lines and missing them, a few rough edges, as well as not quite finishing the seams with serger stitching. But here is the final product!
I learned a lot from this first project and can’t wait to share more of what I have been working on with you very soon.
I’m looking forward to sharing more with you next week. Until then…
Be uniquely you,
Ayana


